Outline Wiki SaaS example
This example shows how to deploy an Outline Wiki SaaS in your account, it's an open-source alternative for software like Confluence, check the project on GitHub.
Getting started via compose spec
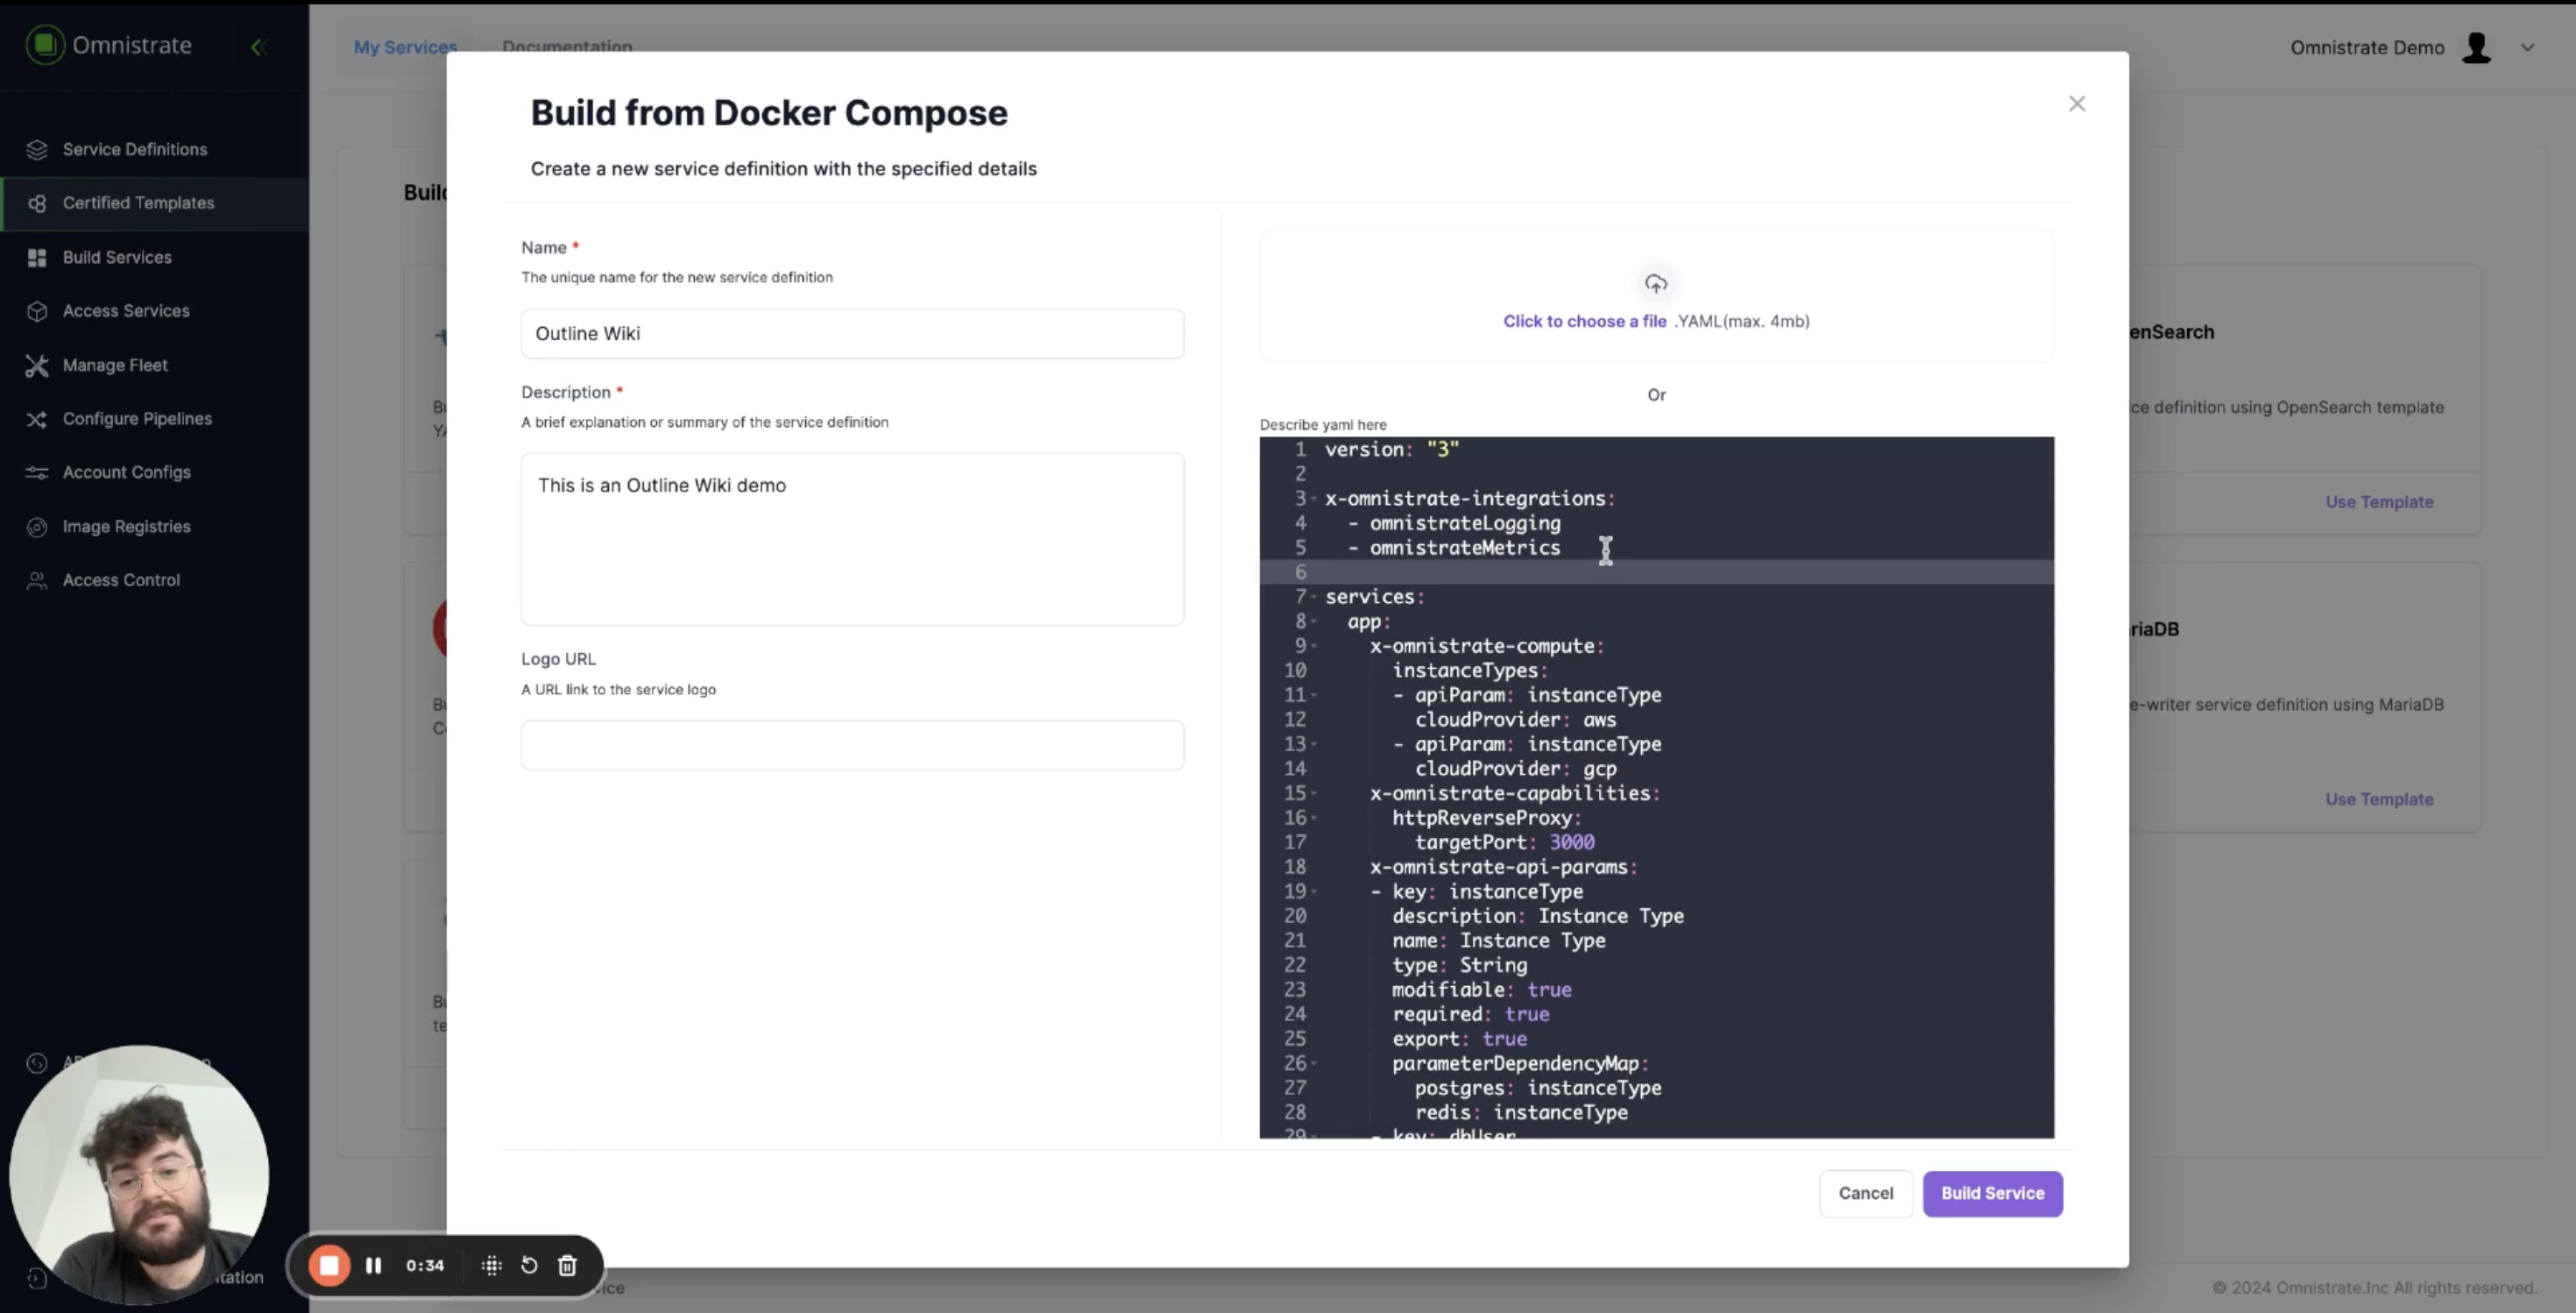
To get started via compose spec, provided below we have a sample that you can use to deploy a simple instance of OutlineWiki. Note that you can choose your preferred image, in this case we are using the omnistrate's outline image.
The integrations omnistrateLogging and omnistrateMetrics are activated through the x-omnistrate-integrations, which will send logs and metrics to your Omnistrate account and allow you to see them in the dashboard.
version: '1'
x-omnistrate-integrations:
  - omnistrateLogging
  - omnistrateMetrics
services:
  app:
    x-omnistrate-compute:
      instanceTypes:
      - apiParam: instanceType
        cloudProvider: aws
      - apiParam: instanceType
        cloudProvider: gcp
      - apiParam: instanceType
        cloudProvider: azure
    x-omnistrate-capabilities:
      httpReverseProxy:
        targetPort: 3000
    x-omnistrate-api-params:
    - key: instanceType
      description: Instance Type
      name: Instance Type
      type: String
      modifiable: true
      required: true
      export: true
      parameterDependencyMap:
        postgres: instanceType
        redis: instanceType
    - key: dbUser
      description: Database User
      name: Database User
      type: String
      modifiable: true
      required: true
      export: true
      parameterDependencyMap:
        postgres: dbUser
    - key: dbPassword
      description: Database Password
      name: Database Password
      type: String
      modifiable: true
      required: true
      export: false
      parameterDependencyMap:
        postgres: dbPassword
    - key: dbName
      description: Database Name
      name: Database Name
      type: String
      modifiable: true
      required: true
      export: true
      parameterDependencyMap:
        postgres: dbName
    image: omnistrate/outline:0.74.0
    ports:
      - 3000:3000
    volumes:
    - ./data:/var/lib/outline/data
    environment:
    - MAXIMUM_IMPORT_SIZE=5120000
    - UTILS_SECRET=e7a31beea1e3268d149fd2aab606c09223f596ff65ef0ef35d6217127cf75fe4
    - SECRET_KEY=c80b562b730a141128e07b159320a734239450def16cbd276033072517552071
    - DEBUG=http
    - PORT=3000
    - SECURITY_CONTEXT_FS_GROUP=1000
    - SECURITY_CONTEXT_USER_ID=1000
    - SECURITY_CONTEXT_GROUP_ID=1000
    - RATE_LIMITER_ENABLED=true
    - RATE_LIMITER_REQUESTS=1000
    - REDIS_URL=redis://redis:6379
    - DEFAULT_LANGUAGE=en_US
    - URL=https://{{ $sys.network.externalClusterEndpoint }}
    - NODE_ENV=production
    - FILE_STORAGE_UPLOAD_MAX_SIZE=26214400
    - DATABASE_URL=postgres://{{ $var.dbUser }}:{{ $var.dbPassword }}@postgres:5432/{{ $var.dbName }}
    - RATE_LIMITER_DURATION_WINDOW=60
    - FILE_STORAGE=local
    - PGSSLMODE=disable
    - FORCE_HTTPS=false
    - WEB_CONCURRENCY=16
    depends_on:
      - postgres
      - redis
  postgres:
    x-omnistrate-mode-internal: true
    x-omnistrate-compute:
      instanceTypes:
      - apiParam: instanceType
        cloudProvider: aws
      - apiParam: instanceType
        cloudProvider: gcp
      - apiParam: instanceType
        cloudProvider: azure
    x-omnistrate-capabilities:
      networkType: INTERNAL
    x-omnistrate-api-params:
    - key: instanceType
      description: Instance Type
      name: Instance Type
      type: String
      modifiable: true
      required: true
      export: true
    - key: dbUser
      description: Database User
      name: Database User
      type: String
      modifiable: true
      required: true
      export: true
    - key: dbPassword
      description: Database Password
      name: Database Password
      type: String
      modifiable: true
      required: true
      export: false
    - key: dbName
      description: Database Name
      name: Database Name
      type: String
      modifiable: true
      required: true
      export: true
    image: postgres:14.8
    ports:
      - 5432:5432
    volumes:
    - ./pg-data:/var/lib/postgresql/data
    environment:
    - SECURITY_CONTEXT_FS_GROUP=999
    - SECURITY_CONTEXT_USER_ID=999
    - SECURITY_CONTEXT_GROUP_ID=999
    - POSTGRES_DB={{ $var.dbName }}
    - POSTGRES_USER={{ $var.dbUser }}
    - POSTGRES_PASSWORD={{ $var.dbPassword }}
    - PGDATA=/var/lib/postgresql/data/pgdata
  redis:
    x-omnistrate-mode-internal: true
    x-omnistrate-compute:
      instanceTypes:
      - apiParam: instanceType
        cloudProvider: aws
      - apiParam: instanceType
        cloudProvider: gcp
      - apiParam: instanceType
        cloudProvider: azure
    x-omnistrate-capabilities:
      networkType: INTERNAL
    x-omnistrate-api-params:
    - key: instanceType
      description: Instance Type
      name: Instance Type
      type: String
      modifiable: true
      required: true
      export: true
    image: redis:7.0.12
    ports:
      - 6379:6379
Once the component is created you can deploy an instance and then follow the following steps to activate the login integrations offered by the project itself.
Happy documenting!
