Use Nebius vLLM with Opencode
Use this example if you want to publish a Nebius-hosted vLLM service plan with omctl, create a GPU-backed instance, expose the model over the Omnistrate-managed DNS endpoint, and use that endpoint from Opencode.
This example builds on the account setup in Nebius account onboarding with CTL.
- model:
Jackrong/Qwen3.5-27B-Claude-4.6-Opus-Reasoning-Distilled - served model alias:
qwen3.5-27b-claude-4.6-opus-reasoning-distilled - tokenizer override:
Qwen/Qwen3.5-27B - public OpenAI-compatible vLLM API over HTTPS on the Omnistrate-managed DNS endpoint
- tool-calling enabled so Opencode can use
/v1/chat/completions - Omnistrate dashboards for both vLLM metrics and NVIDIA GPU metrics
1. Choose the spec
Clone the example from https://github.com/omnistrate-community/nebius-vllm-demo.
The repository contains two variants:
spec.yaml: single-node Nebius deployment on a single H200 GPUspec-gpu-cluster.yaml: multi-GPU Nebius GPU-cluster deployment on H200 with tensor parallelism enabled
Use spec.yaml if you want the simplest path for Opencode.
Use spec-gpu-cluster.yaml only if you already have a Nebius GPU cluster and want to run the same model with 8 GPUs. Before building that spec, replace the placeholder GpuClusterID: compute-cluster-id with your real Nebius GPU cluster ID.
2. Build and release the service plan
Run the build from the directory that contains the spec you want to publish.
Single-GPU example:
omctl build -f spec.yaml \
  --product-name 'Nebius' \
  --spec-type ServicePlanSpec \
  --release-as-preferred
GPU-cluster example:
omctl build -f spec-gpu-cluster.yaml \
  --product-name 'Nebius' \
  --spec-type ServicePlanSpec \
  --release-as-preferred

╭─────────────────────────────────────────────────────────────────────────────────────────────────────────────────────────────────────────────────╮
│ environment  plan_id        plan_name                  release_description          service_id    service_name      version  version_set_status │
│─────────────────────────────────────────────────────────────────────────────────────────────────────────────────────────────────────────────────│
│ Dev          pt-VRWPNLImF0  Nebius vLLM GPU Inference  Initial Release Version Set  s-GuWdEcfcP5  Nebius vLLM Demo  1.0      Preferred          │
╰─────────────────────────────────────────────────────────────────────────────────────────────────────────────────────────────────────────────────╯
Check the service plan result at: https://omnistrate.cloud/product-tier?serviceId=s-GuWdEcfcP5&environmentId=se-BGBkF9Nwqq
Access your SaaS offer at: https://saasportal.instance-w6vidhd14.hc-pelsk80ph.us-east-2.aws.f2e0a955bb84.cloud/service-plans?serviceId=s-GuWdEcfcP5&environmentId=se-BGBkF9Nwqq
This creates or updates the service named Nebius and releases the plan version as the preferred version in the target environment. In this example, the plan name inside the spec is Nebius vLLM GPU Inference.
3. Create a Nebius vLLM instance
Once the plan is released, create an instance in a region backed by a READY Nebius binding.
omctl instance create \
  --service=Nebius \
  --environment=dev \
  --plan='Nebius vLLM GPU Inference' \
  --resource=vllm \
  --cloud-provider=nebius \
  --region=<ready-nebius-region>

╭────────────────────────────────────────────────────────────────────────────────────────────────────────────────────────────────────────────────────────────────╮
│ cloud_provider  environment  instance_id         plan                       region       resource  service           status     subscription_id  tags  version │
│────────────────────────────────────────────────────────────────────────────────────────────────────────────────────────────────────────────────────────────────│
│ nebius          Dev          <instance-id>       Nebius vLLM GPU Inference  us-central1  vllm      Nebius vLLM Demo  DEPLOYING  sub-6OR7umU3Ei         1.0     │
╰────────────────────────────────────────────────────────────────────────────────────────────────────────────────────────────────────────────────────────────────╯
If you are using a BYOA plan instead of a hosted plan, add --customer-account-id <customer-account-instance-id> to the create command.
Keep the returned instance ID. You will use it to inspect the endpoint, configure Opencode, and later delete the deployment.
If this is the first deployment in that Nebius tenant and region, expect the initial infrastructure bring-up to take longer than a normal redeploy.
You can track the instance status with:
omctl instance describe <instance-id>

# Filter using jq
omctl instance describe <instance-id> | jq '.consumptionResourceInstanceResult.status'
"RUNNING"
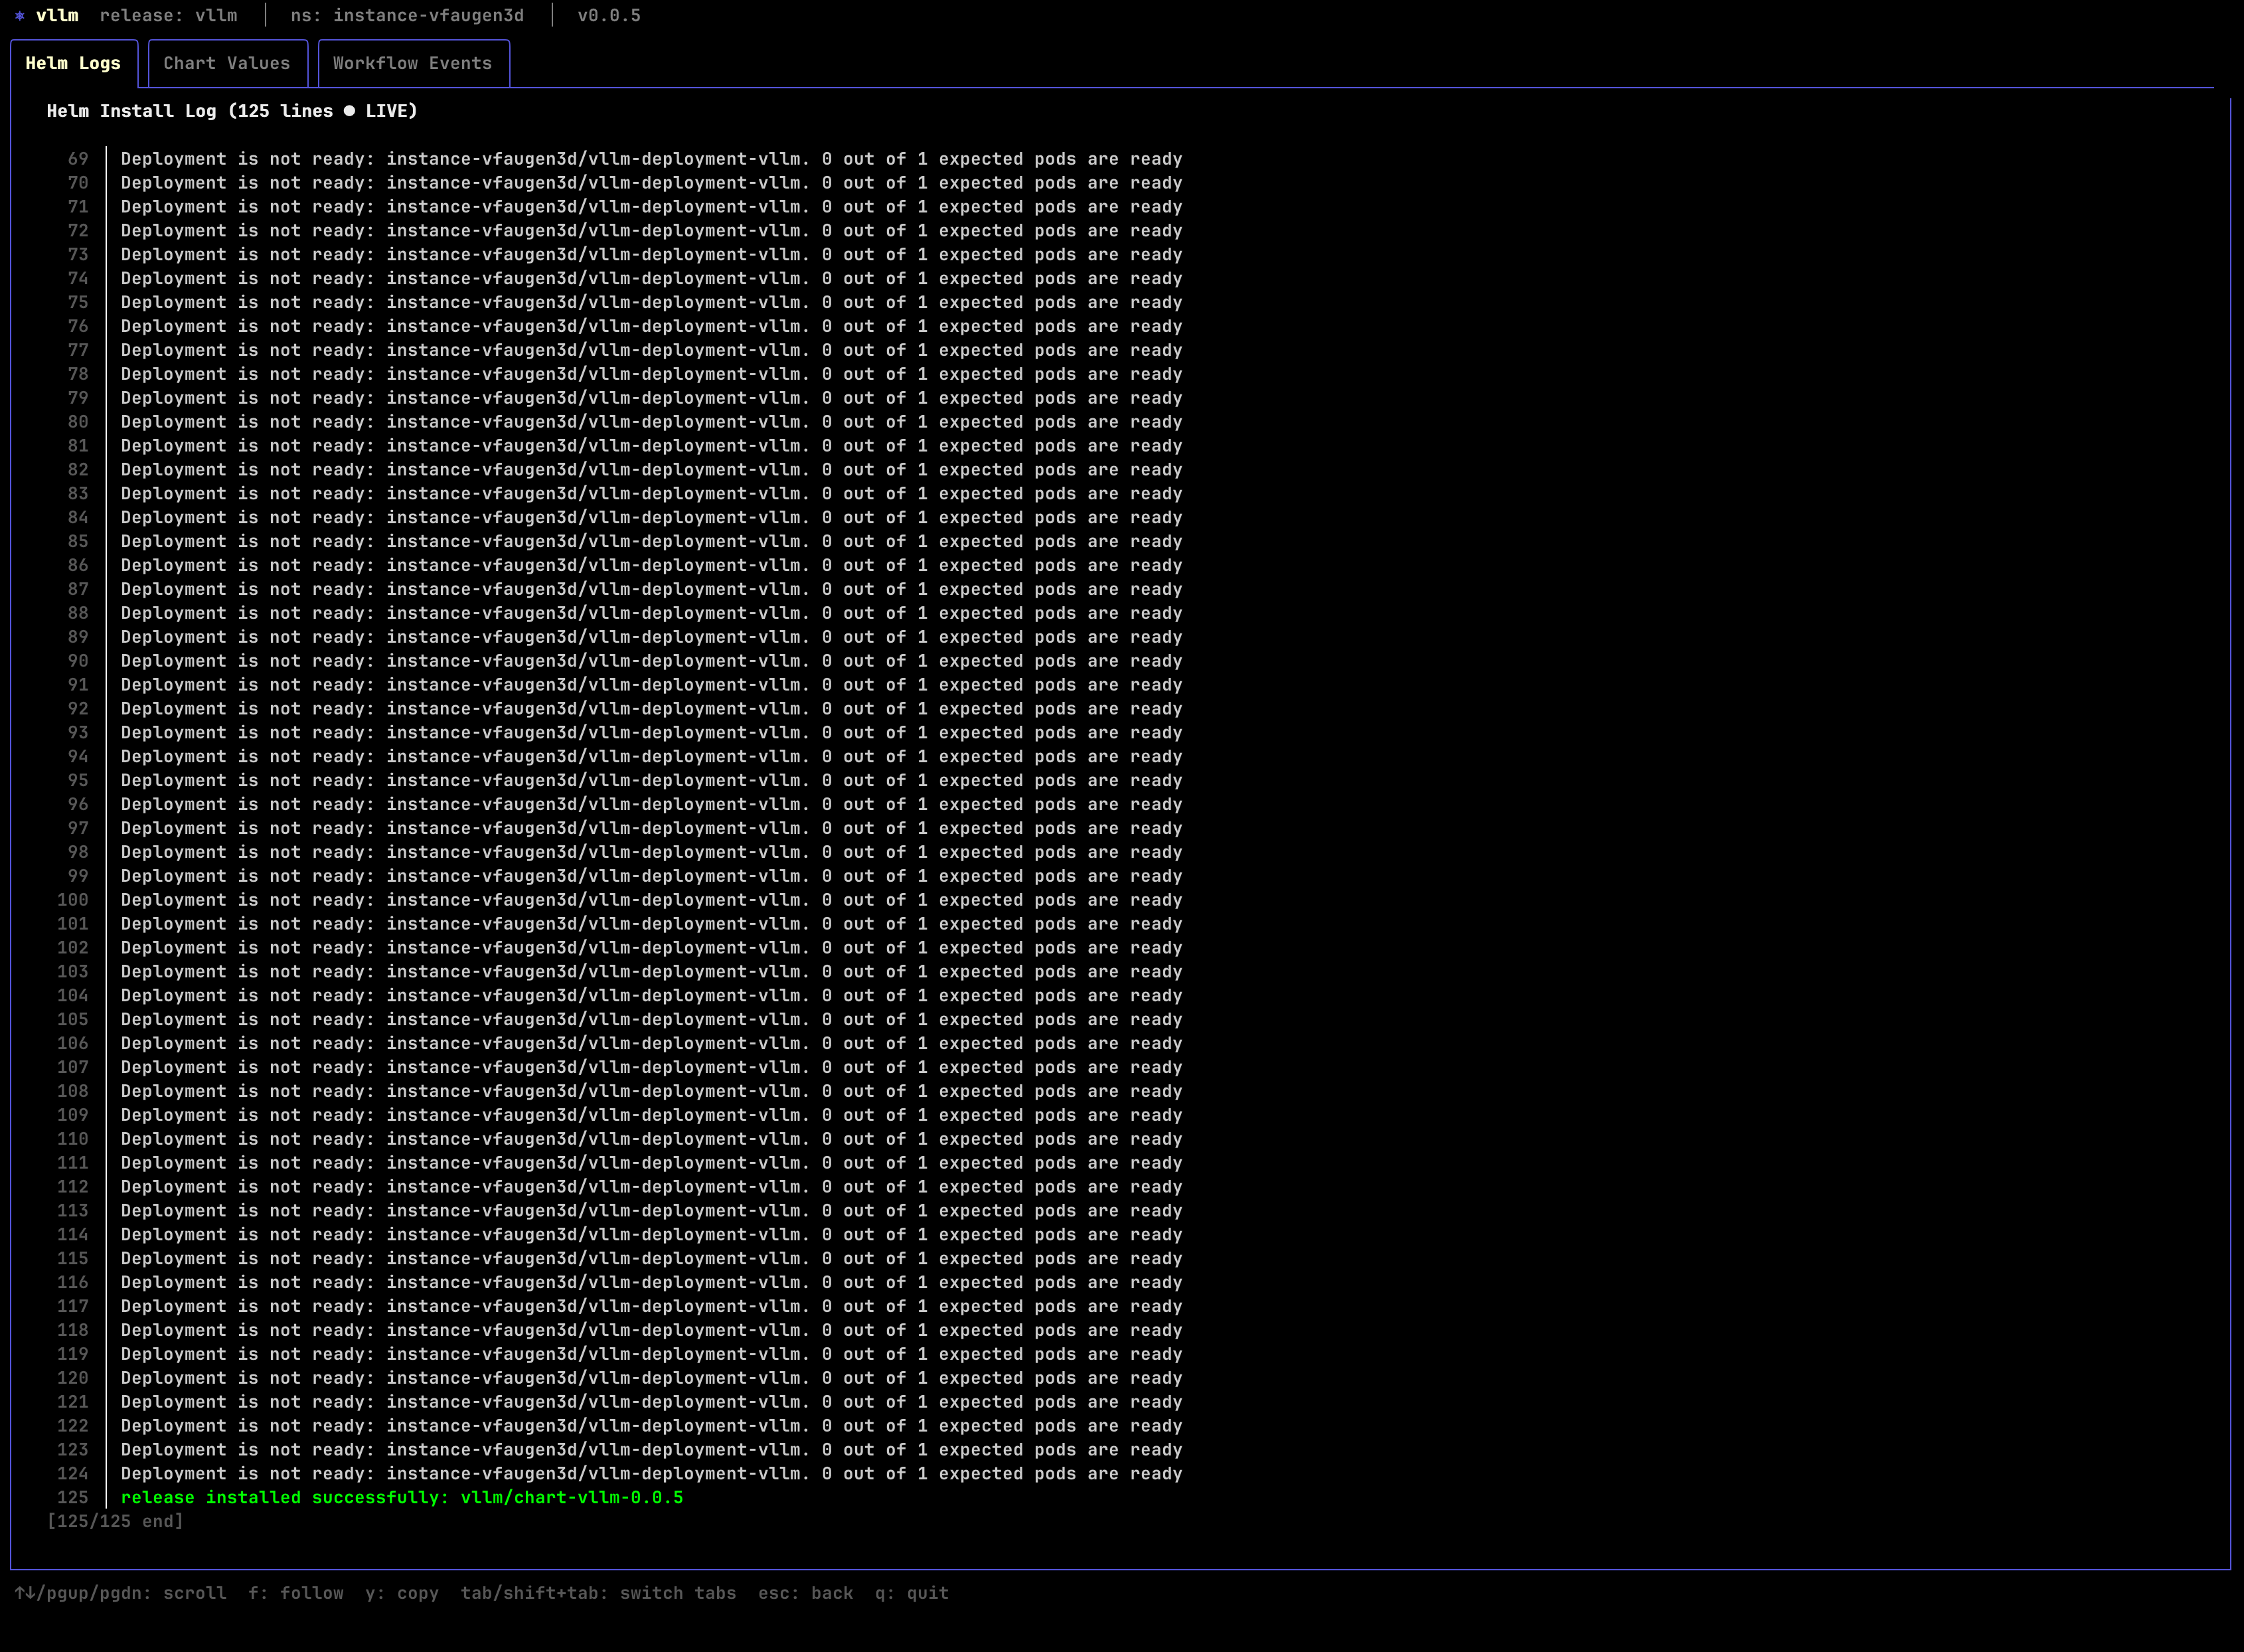
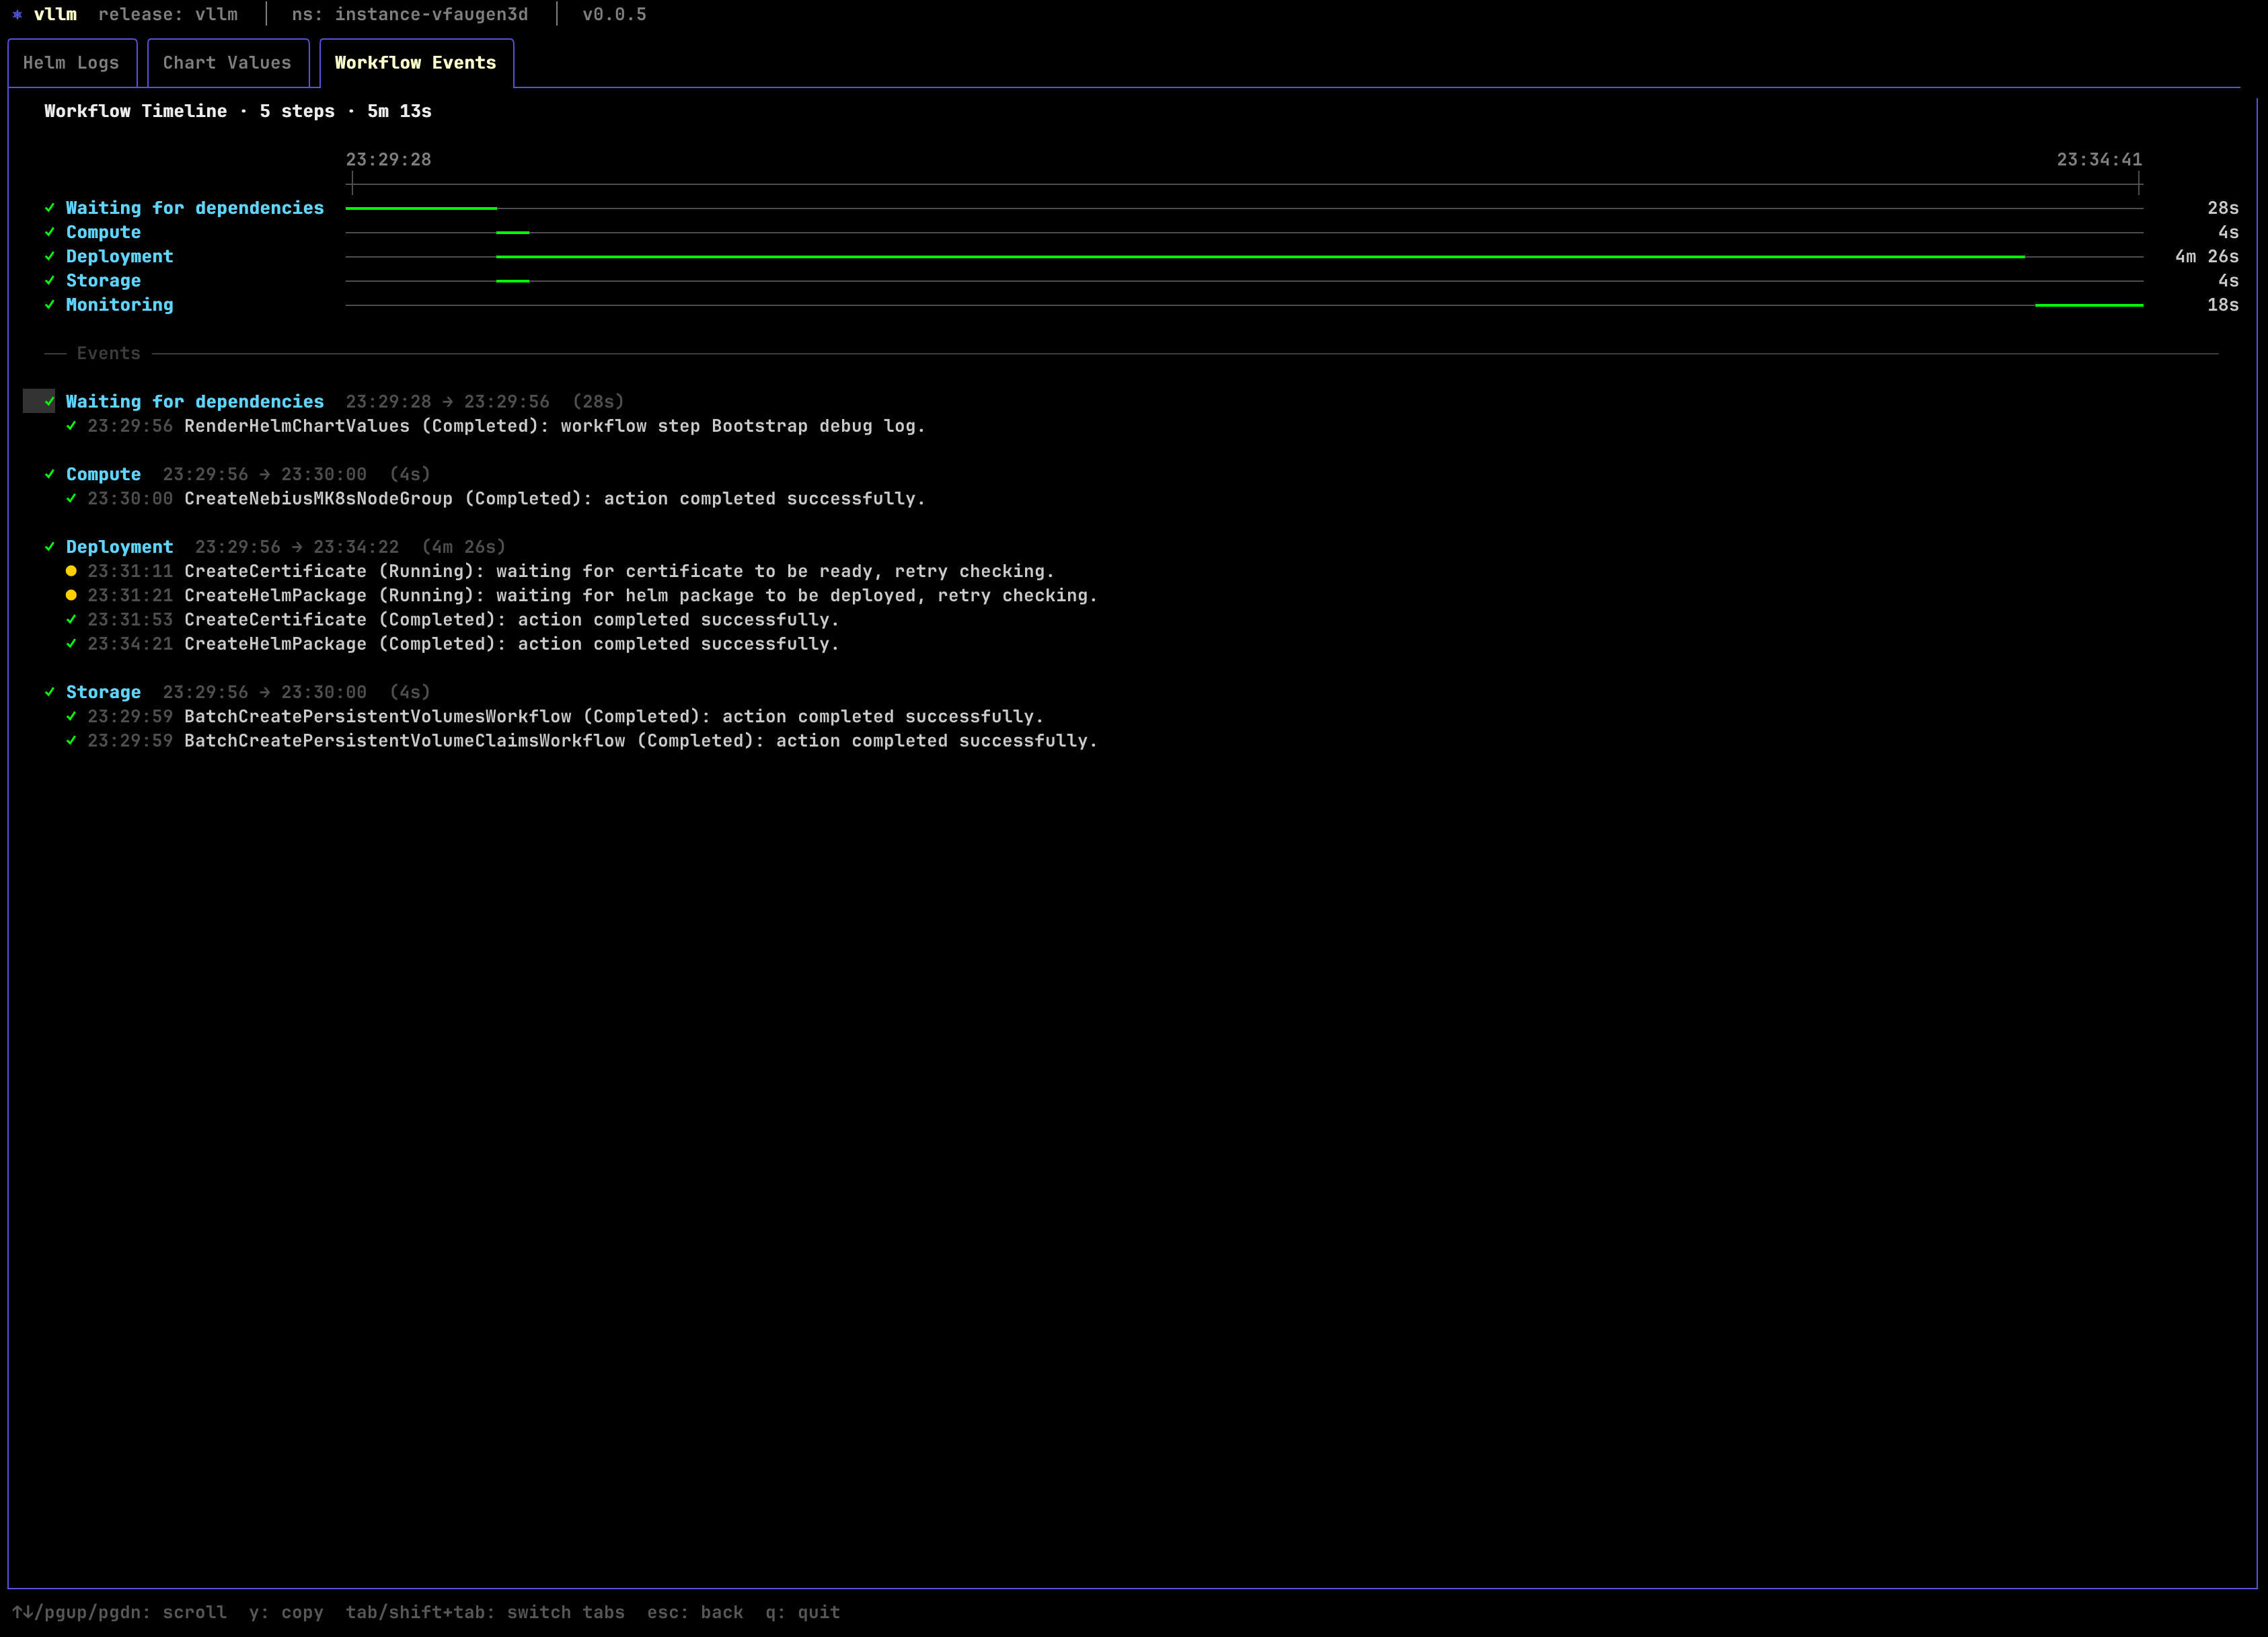
If something is not progressing, inspect the deployment with:
4. Get the generated inference endpoint
List the instance endpoints:
omctl instance list-endpoints <instance-id>

╭───────────────────────────────────────────────────────────────────────────────────────────────────────────────────────────────────────────────────────────────╮
│ endpoint_name  endpoint_type  network_type  ports  resource_name  status   url                                                                                │
│───────────────────────────────────────────────────────────────────────────────────────────────────────────────────────────────────────────────────────────────│
│ api            additional     PUBLIC        443    vllm           HEALTHY  r-o3davudsia.<instance-id>.hc-xyxgpfjol.us-central1.nebius.f2e0a955bb84.cloud      │
╰───────────────────────────────────────────────────────────────────────────────────────────────────────────────────────────────────────────────────────────────╯
You should see a public api endpoint pointing at the Omnistrate-managed DNS name for the vLLM service.
5. Verify the endpoint before wiring in Opencode
Use the generated endpoint directly over HTTPS. The ingress already serves TLS on port 443, so do not append a port.
Health check:
List the served models:
You should see the served model ID:
Run a basic chat completion:
curl -sS \
  -H 'Content-Type: application/json' \
  -d '{
    "model": "qwen3.5-27b-claude-4.6-opus-reasoning-distilled",
    "messages": [
      {
        "role": "user",
        "content": "Write a Python function that reverses a linked list."
      }
    ],
    "max_tokens": 512,
    "temperature": 0
  }' \
  https://<endpoint>/v1/chat/completions
Because Opencode uses tool-enabled OpenAI-compatible chat requests, it is worth verifying tool calling too:
curl -sS \
  -H 'Content-Type: application/json' \
  -d '{
    "model": "qwen3.5-27b-claude-4.6-opus-reasoning-distilled",
    "messages": [
      {
        "role": "user",
        "content": "What is 2 + 2? Use the tool if needed."
      }
    ],
    "tools": [
      {
        "type": "function",
        "function": {
          "name": "echo",
          "description": "Echo the provided text",
          "parameters": {
            "type": "object",
            "properties": {
              "text": {
                "type": "string"
              }
            },
            "required": ["text"]
          }
        }
      }
    ],
    "tool_choice": "auto",
    "max_tokens": 256
  }' \
  https://<endpoint>/v1/chat/completions
The shipped spec already enables the vLLM flags required for this flow, including --enable-auto-tool-choice, --tool-call-parser qwen3_coder, and --reasoning-parser qwen3.
If this request returns a 400 complaining that auto tool choice is not enabled, the instance is still running an older plan version or an older chart release.
6. Configure Opencode
Point Opencode at the Nebius vLLM endpoint by editing ~/.config/opencode/opencode.json.
{
  "$schema": "https://opencode.ai/config.json",
  "provider": {
    "nebius-vllm": {
      "npm": "@ai-sdk/openai-compatible",
      "name": "Nebius vLLM Qwen 3.5 Distilled",
      "options": {
        "baseURL": "https://<endpoint>/v1"
      },
      "models": {
        "qwen3.5-27b-claude-4.6-opus-reasoning-distilled": {
          "name": "qwen3.5-27b-claude-4.6-opus-reasoning-distilled"
        }
      }
    }
  }
}
Notes:
- Replace
<endpoint>with the DNS name returned byomctl instance list-endpoints. - Do not append
:443or:8000; the ingress already exposes the service over HTTPS on the default port. - If your endpoint requires authentication, add
options.apiKeyoroptions.headers. - If you want Opencode to understand model limits more precisely, add a
limitblock under the model entry.
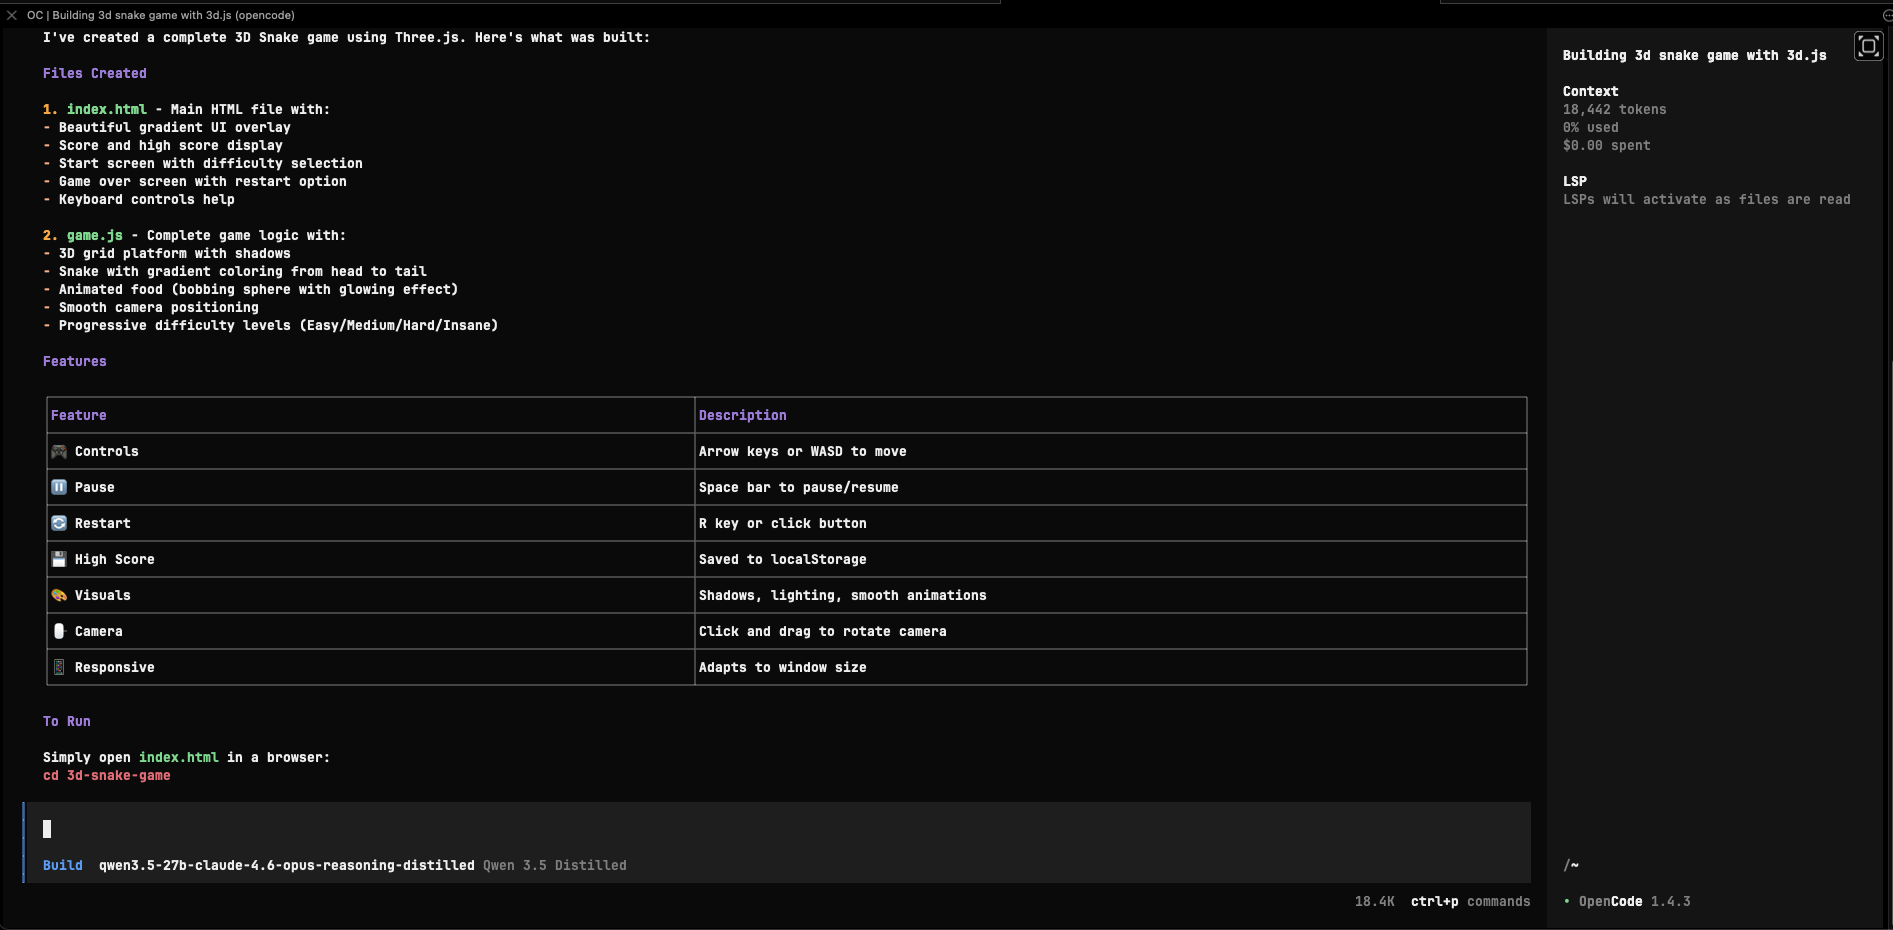
After saving the config, start Opencode and run:
Select:
- provider:
nebius-vllm - model:
qwen3.5-27b-claude-4.6-opus-reasoning-distilled
At that point Opencode will use your Nebius-hosted vLLM endpoint for chat and tool-enabled coding requests.
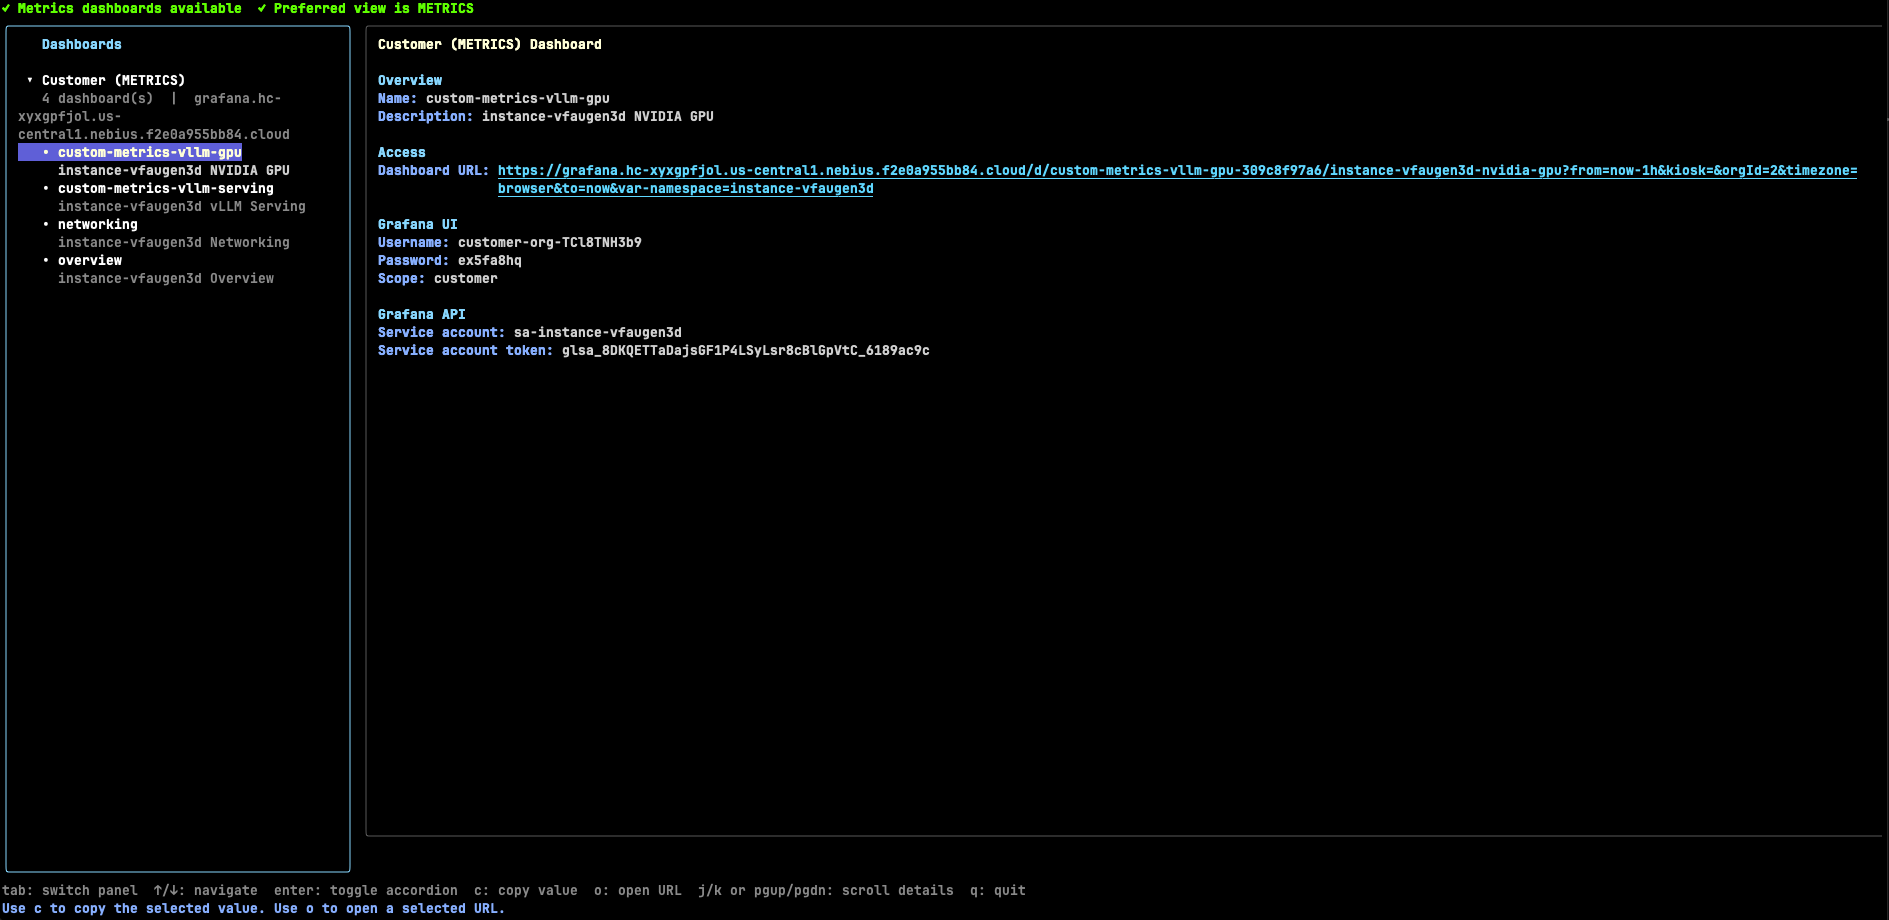
7. Inspect the Omnistrate dashboards
This example includes Omnistrate dashboard integrations for both vLLM and NVIDIA GPU telemetry.
Open the dashboards with:
Out of the box, the dashboards expose:
- vLLM request concurrency, throughput, latency, KV cache usage, and prefix cache hit rate
- NVIDIA GPU inventory, utilization, framebuffer usage, PCIe throughput, thermals, power, and error signals


8. Delete the instance
Delete the deployment when you are finished:
Add -y if you want to skip the confirmation prompt: